
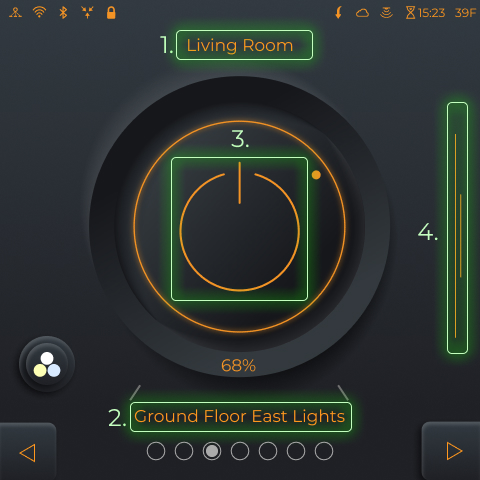
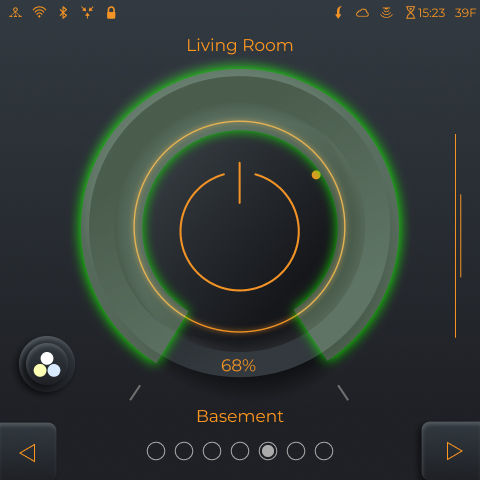
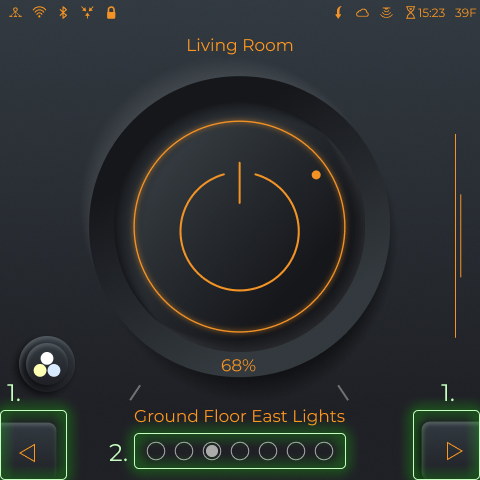
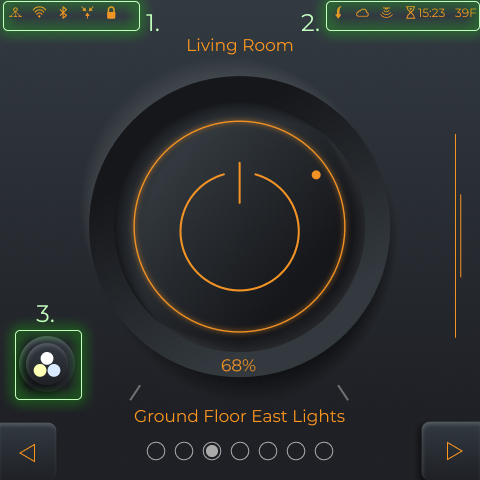
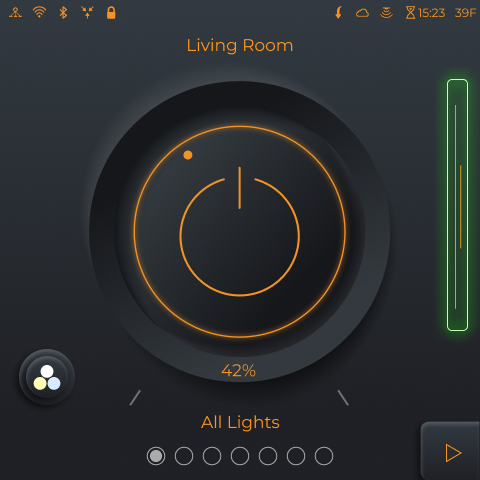
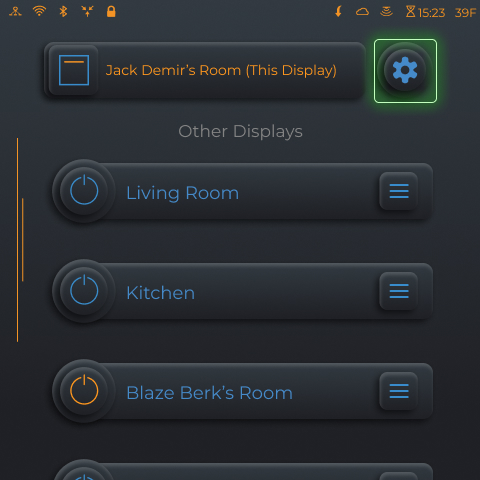
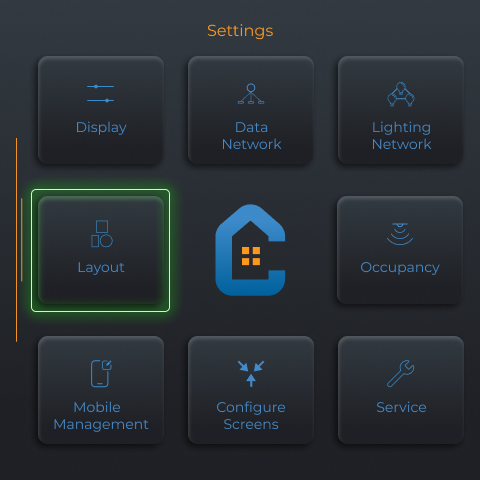
Main Screen
Side Panel
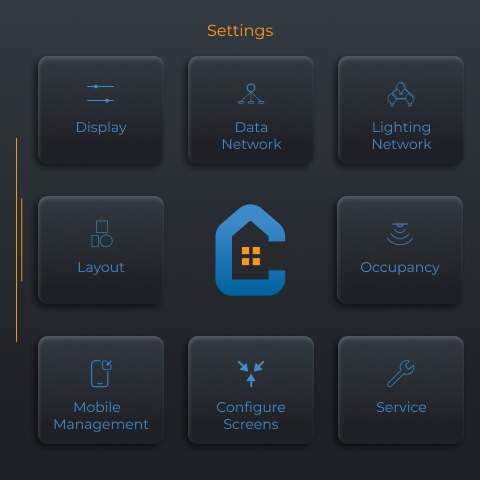
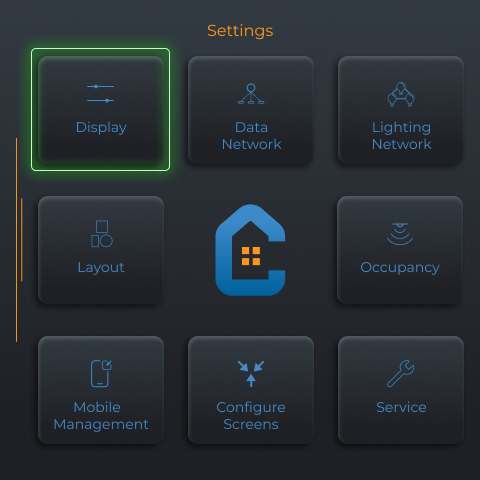
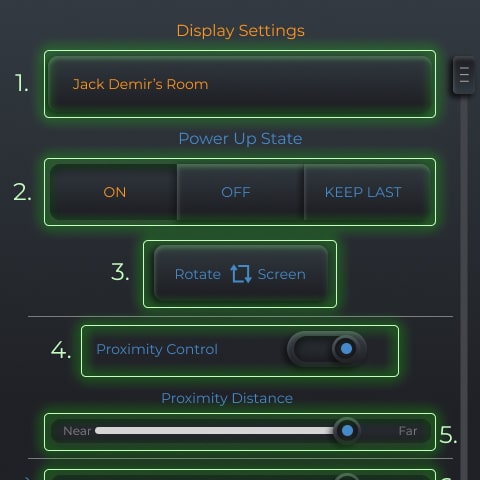
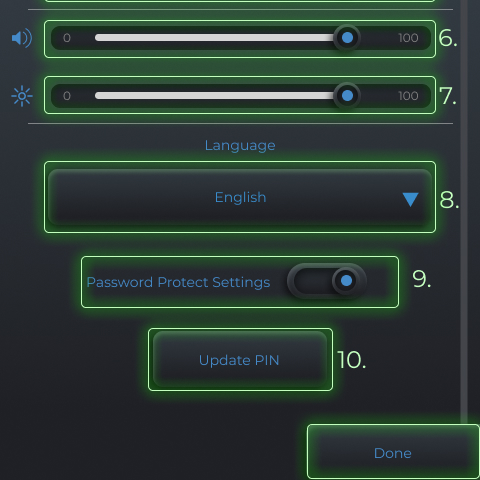
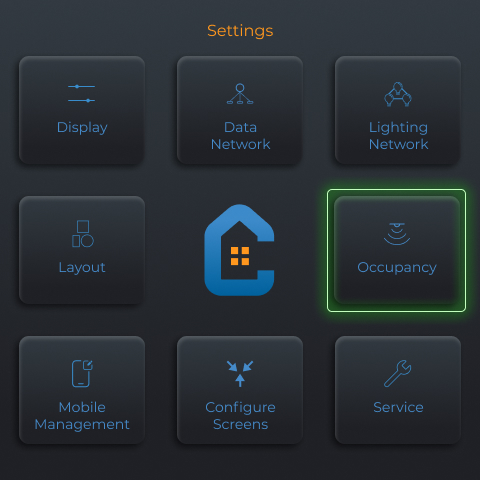
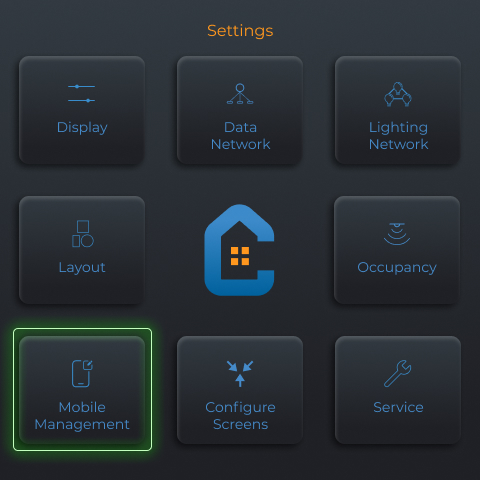
Display Settings
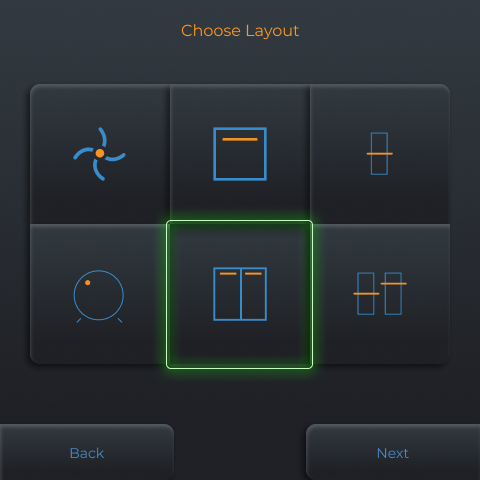
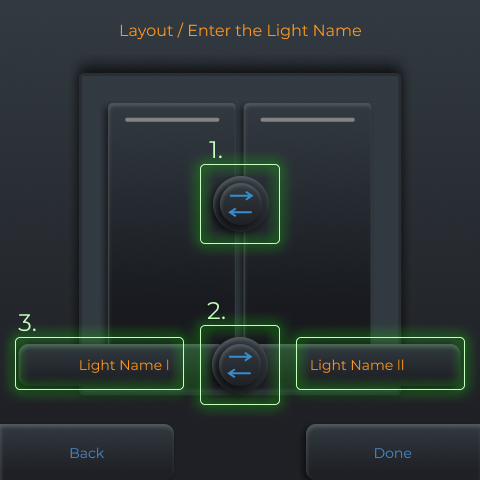
Layout Settings
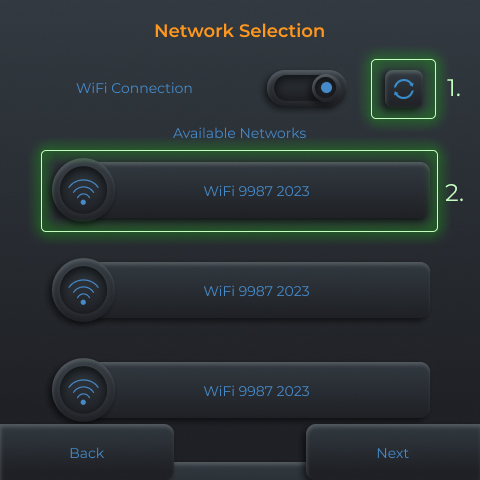
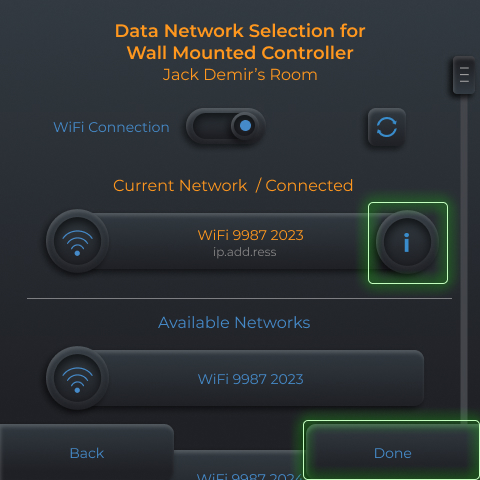
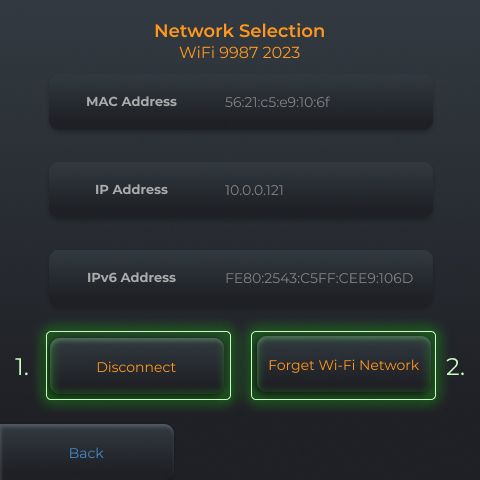
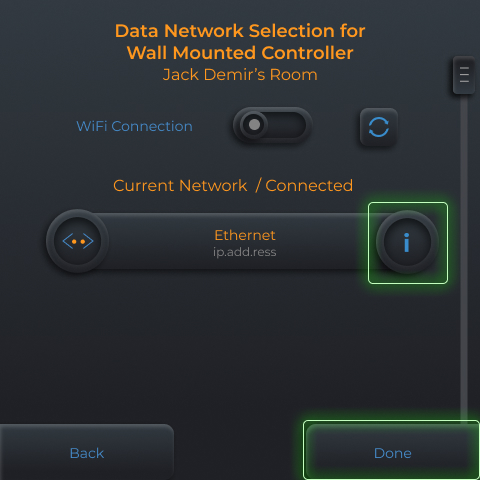
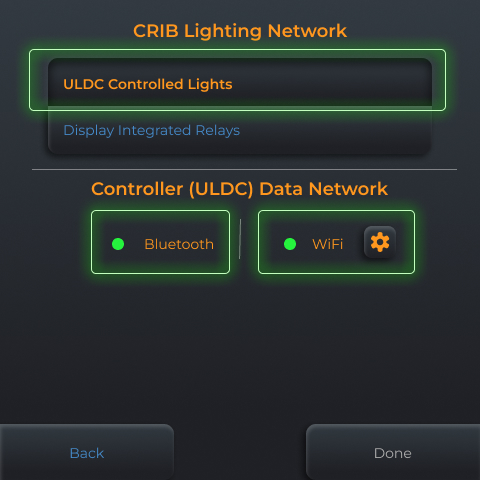
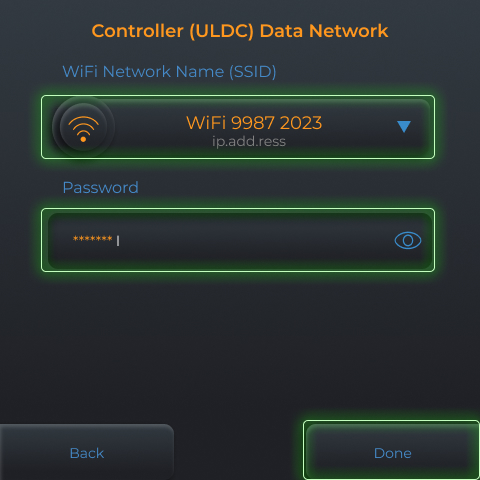
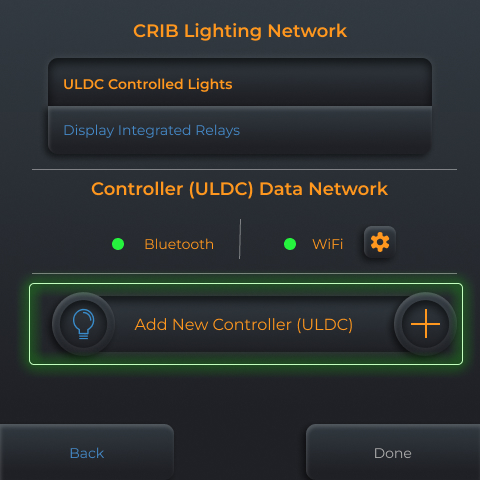
Data Network
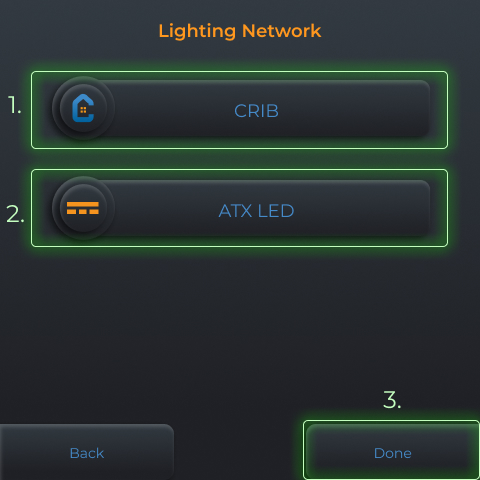
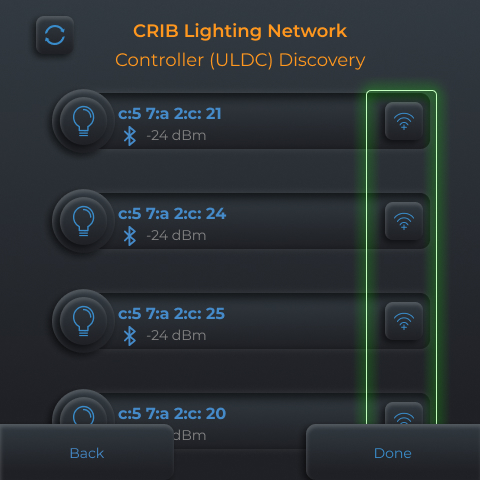
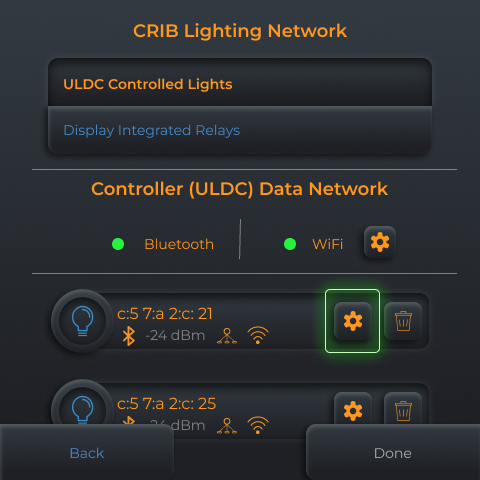
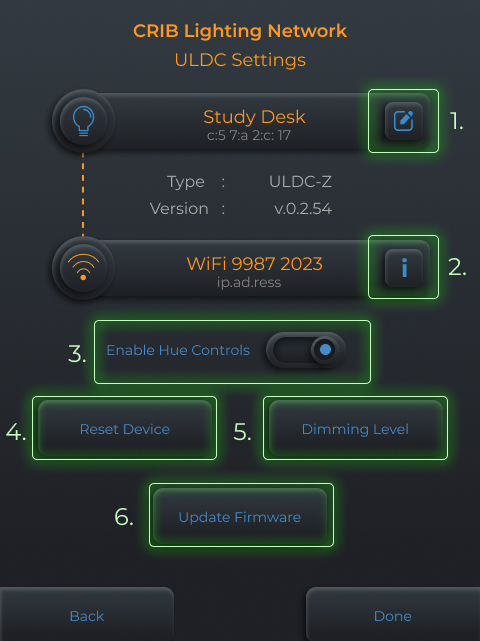
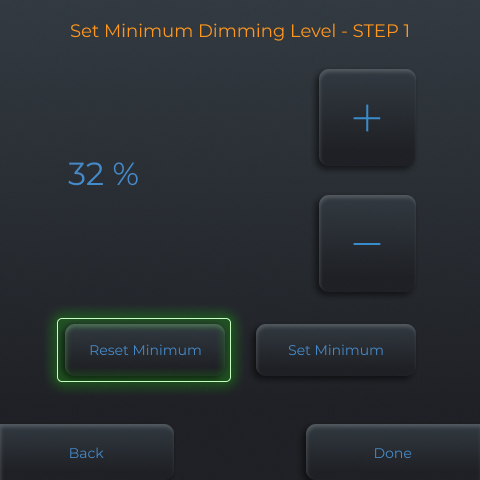
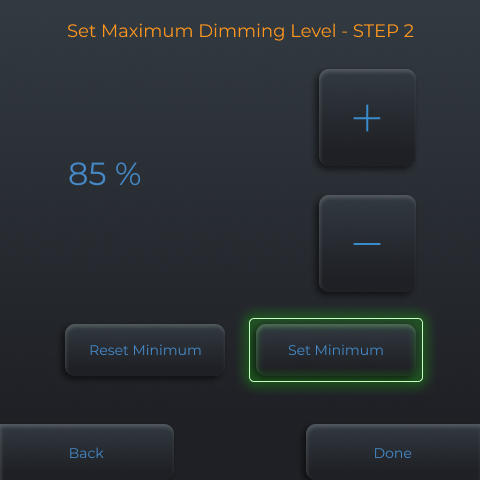
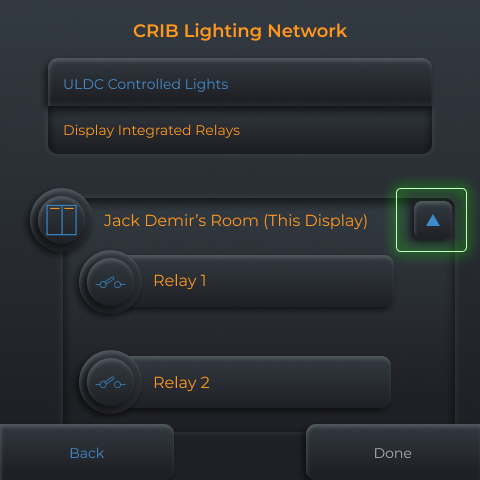
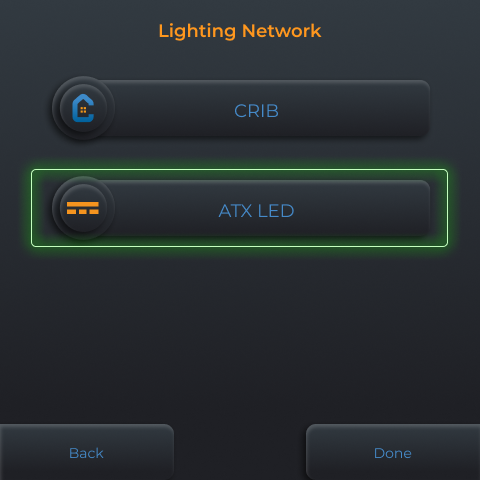
Lighting Network
(CRIB)
(CRIB)
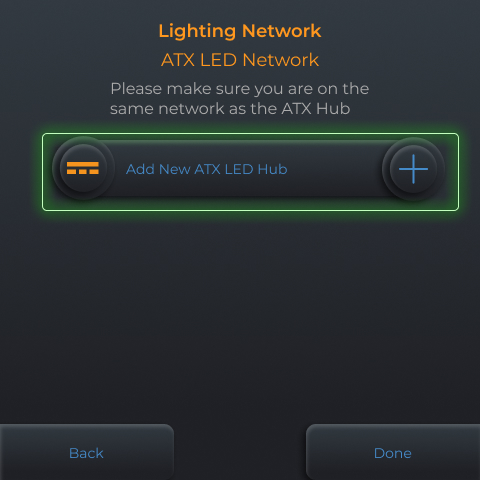
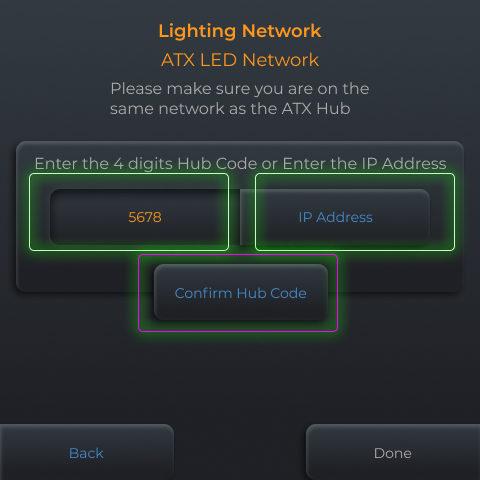
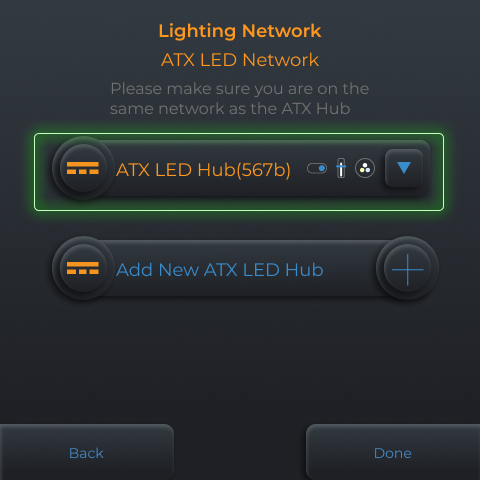
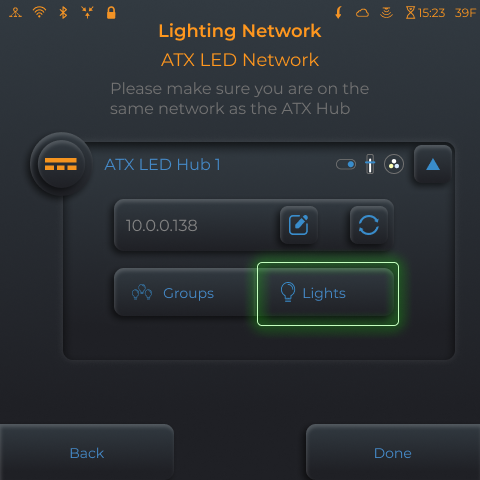
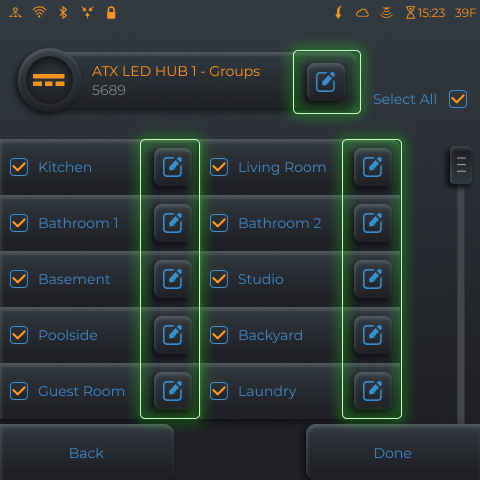
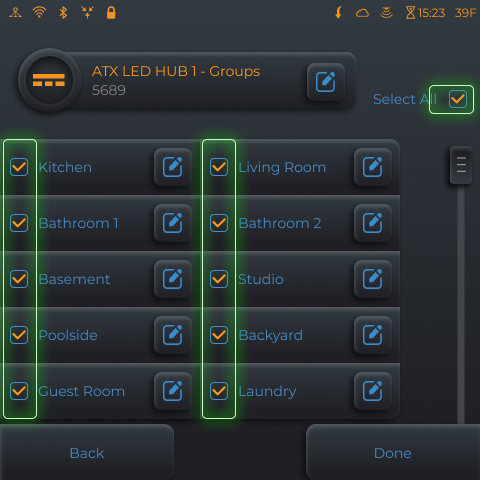
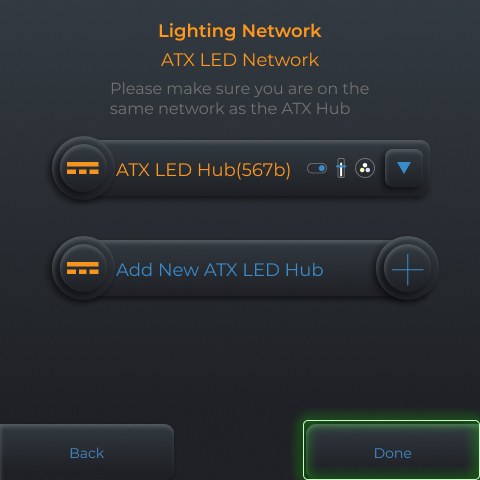
Lighting Network
(ATX)
(ATX)
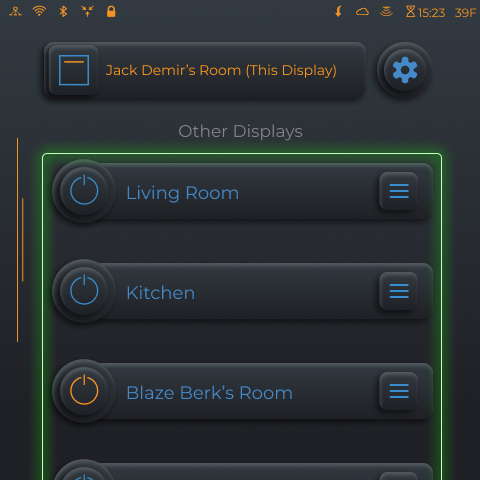
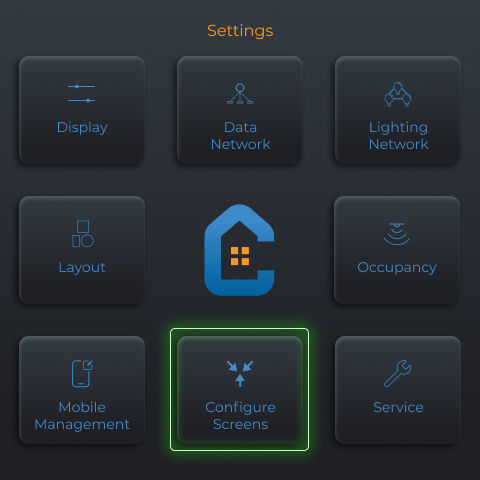
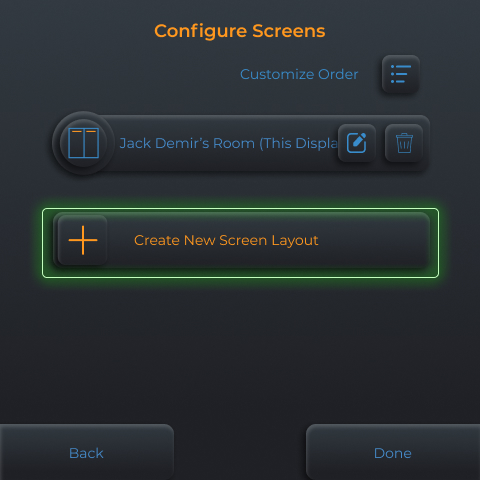
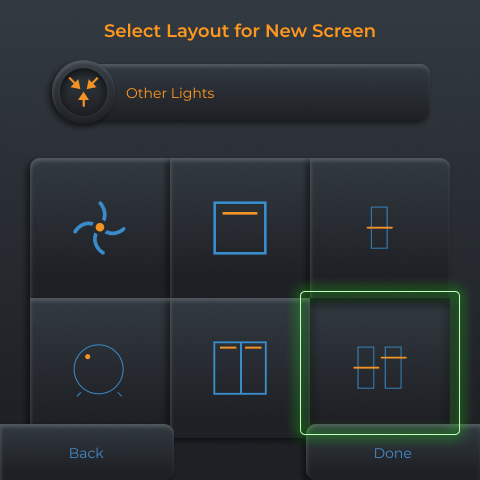
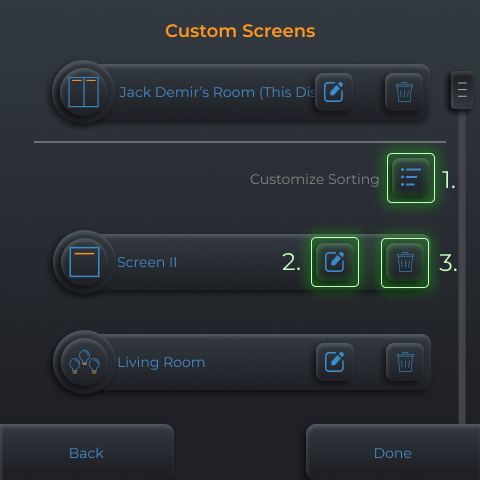
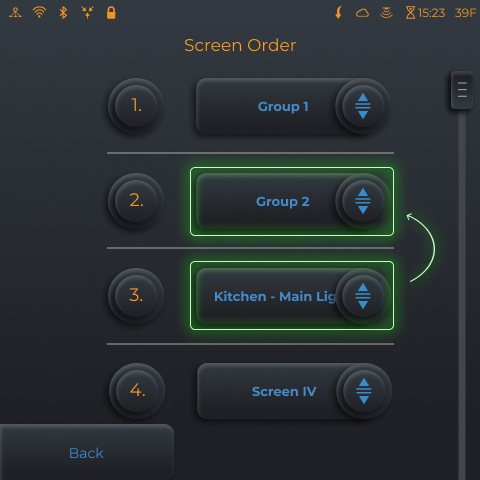
Configure Screens
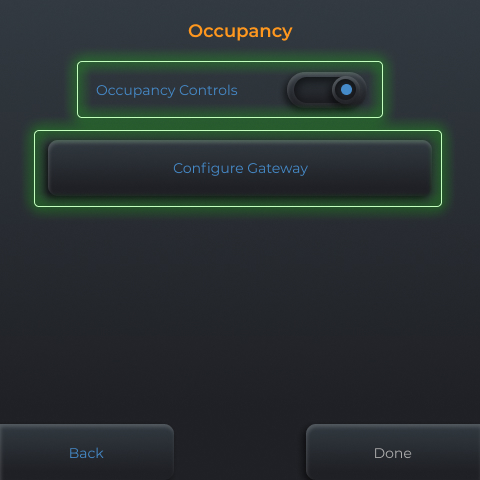
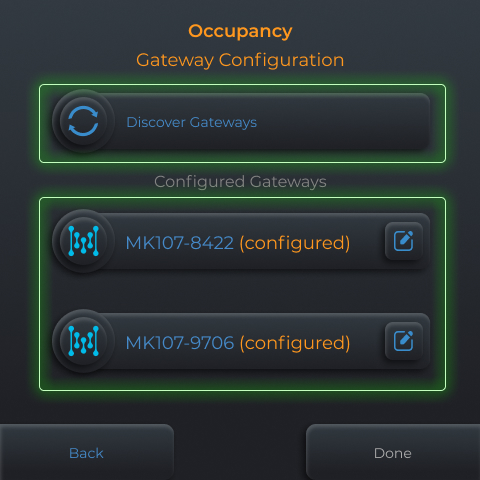
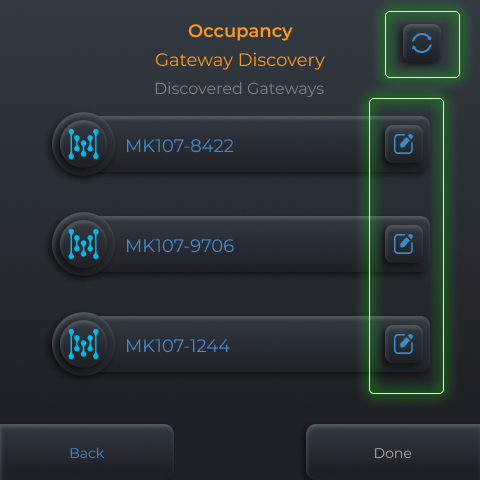
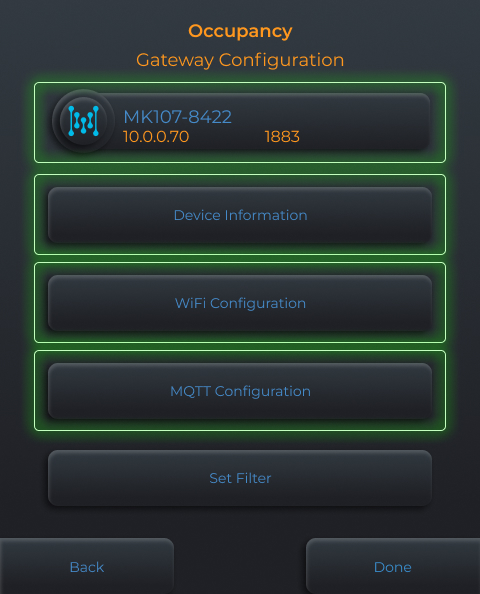
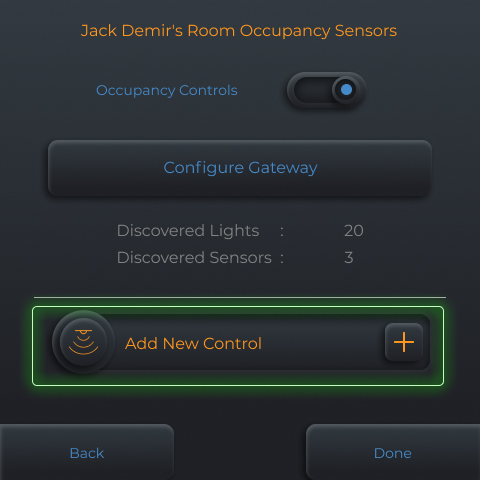
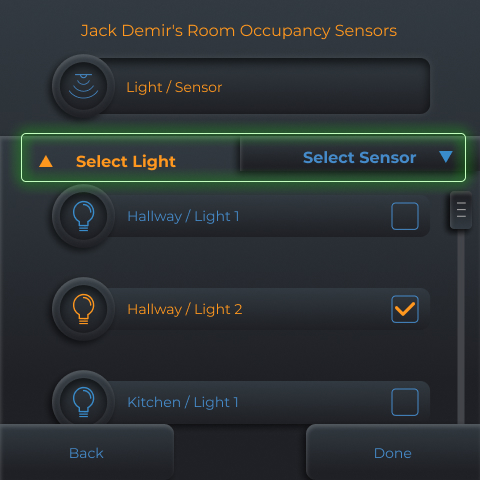
Occupancy
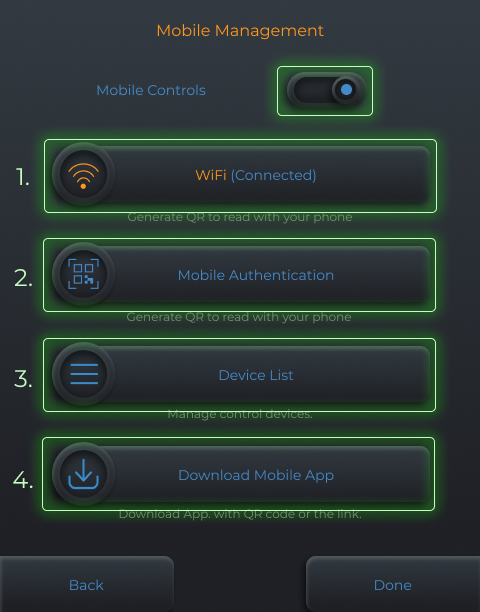
Mobile
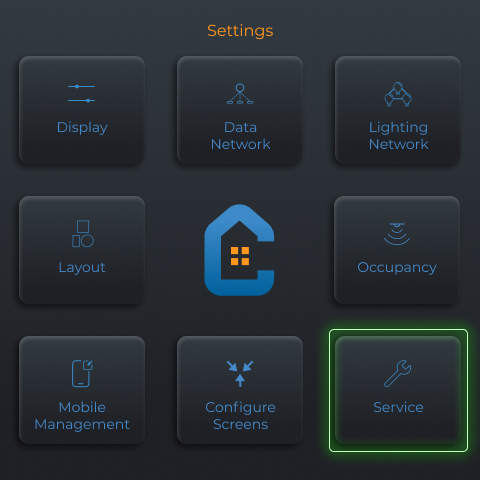
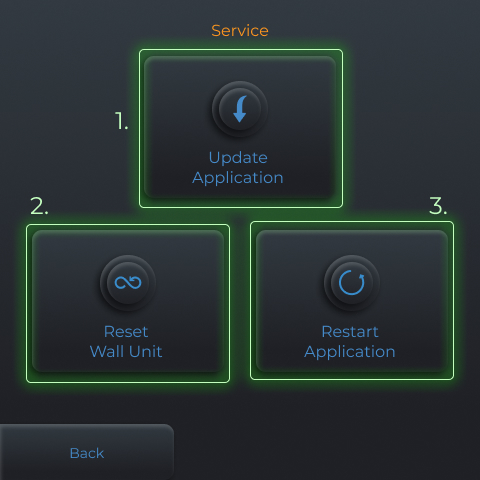
Services
Main Screen

Side Panel
Display Settings
Layout Settings
Data Network
Lighting Network
(CRIB)
(CRIB)
Lighting Network
(ATX)
(ATX)

Configure Screens
Occupancy
Mobile
Services